Behind The Scenes At The 2011 Barron’s Roundtable PART TWO

Click on any image for Full-Size

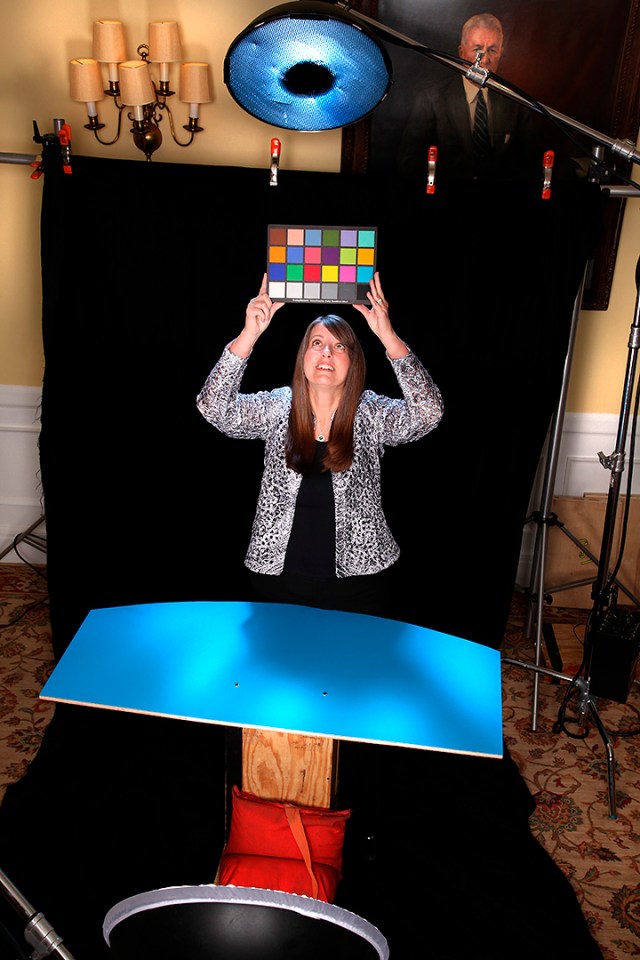
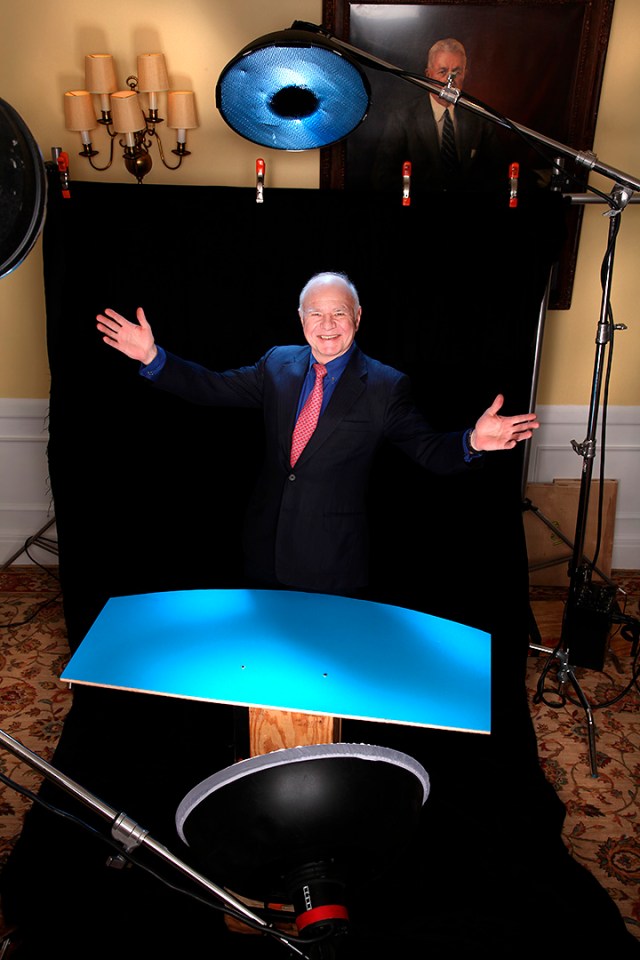
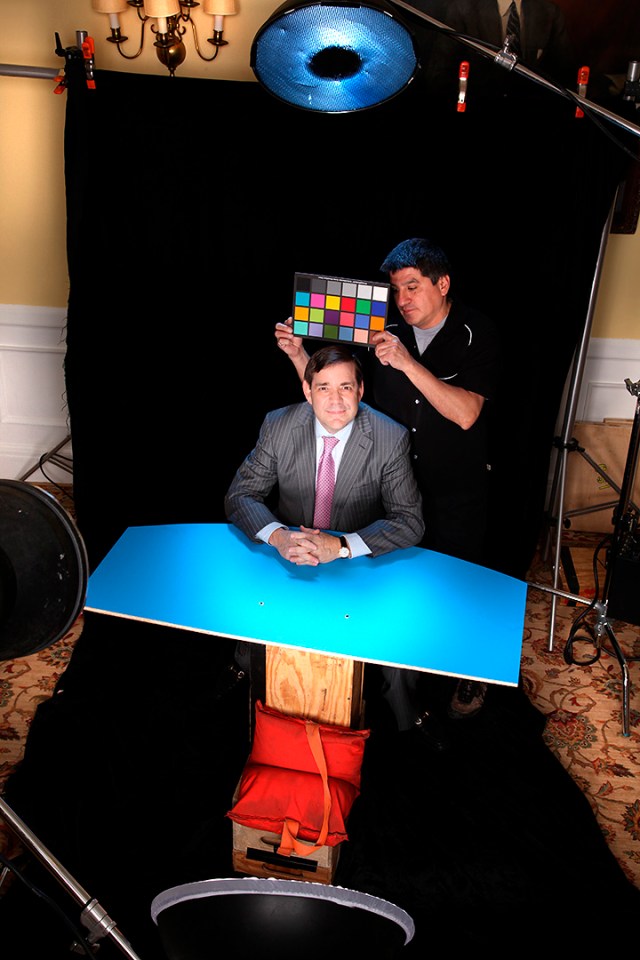
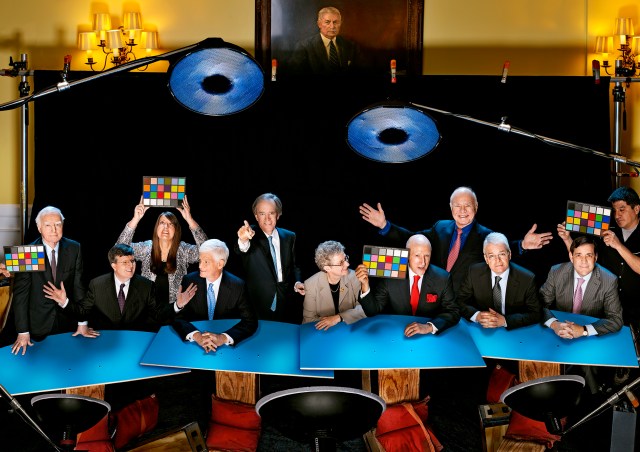
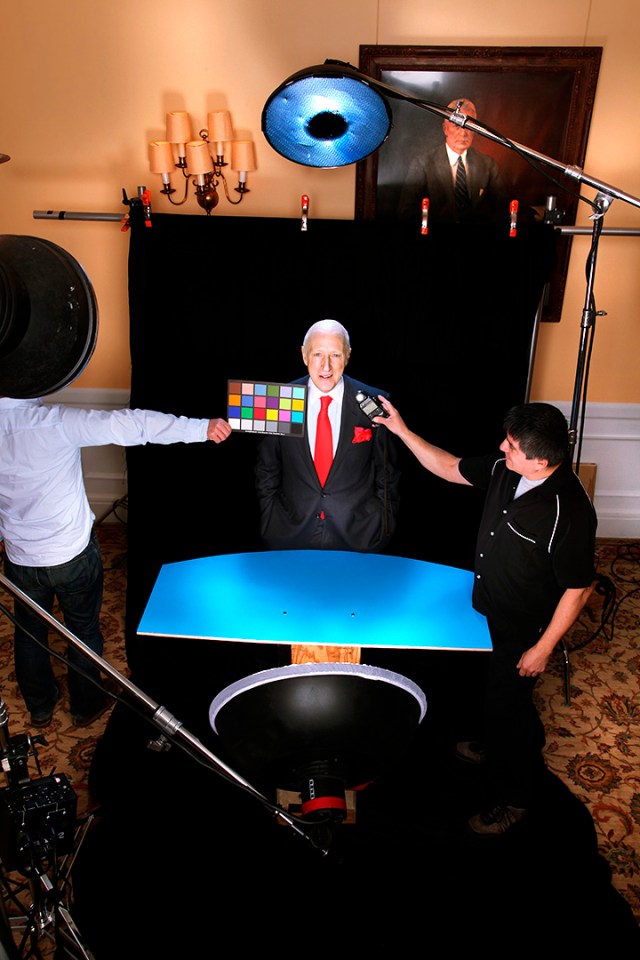
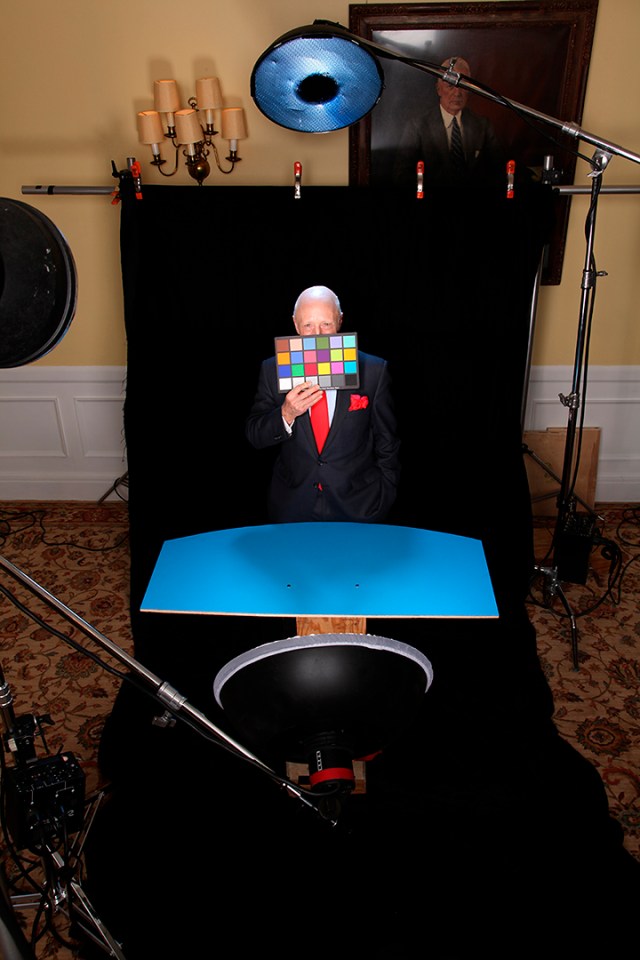
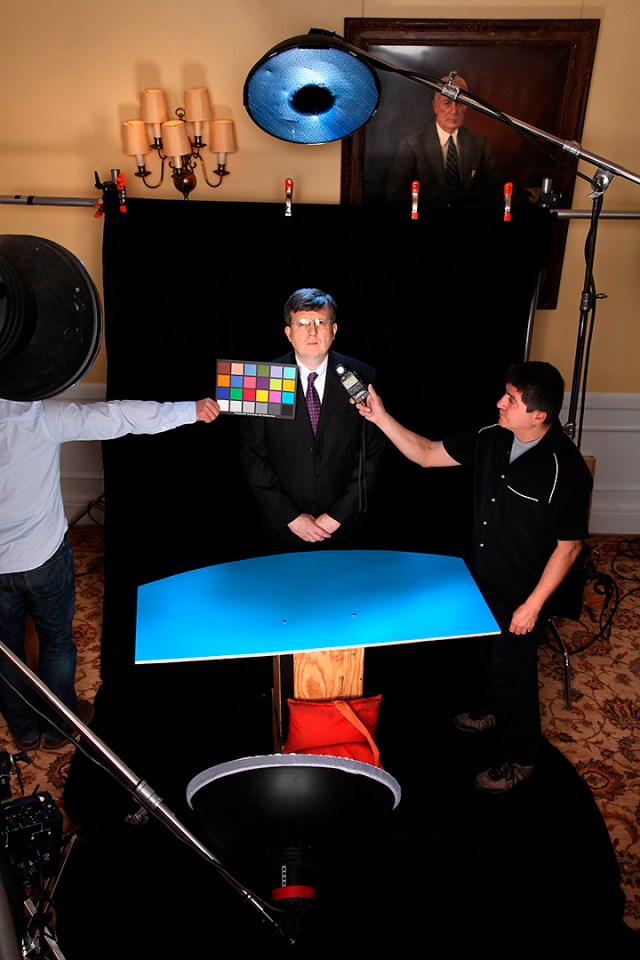
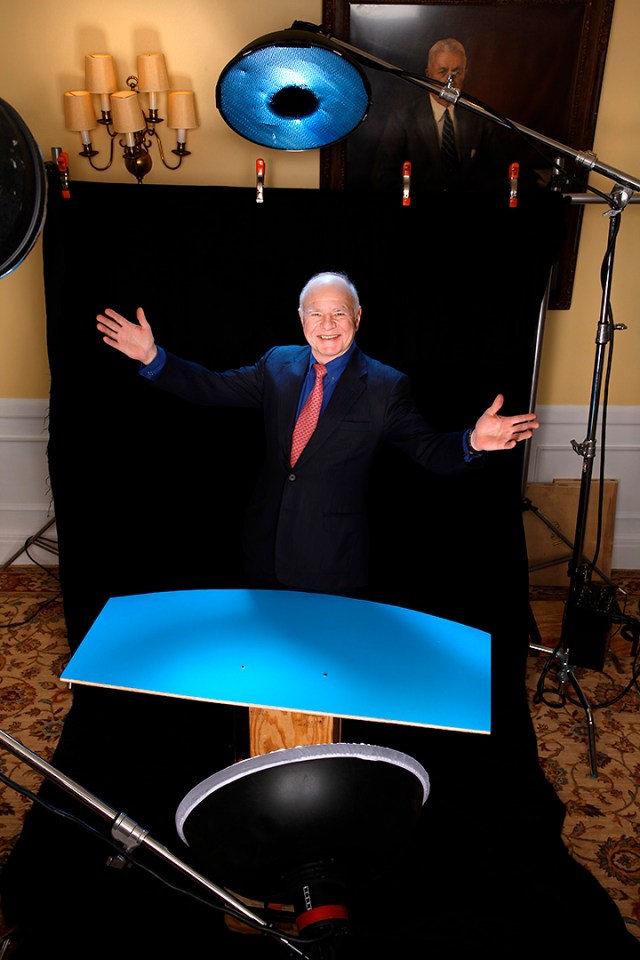
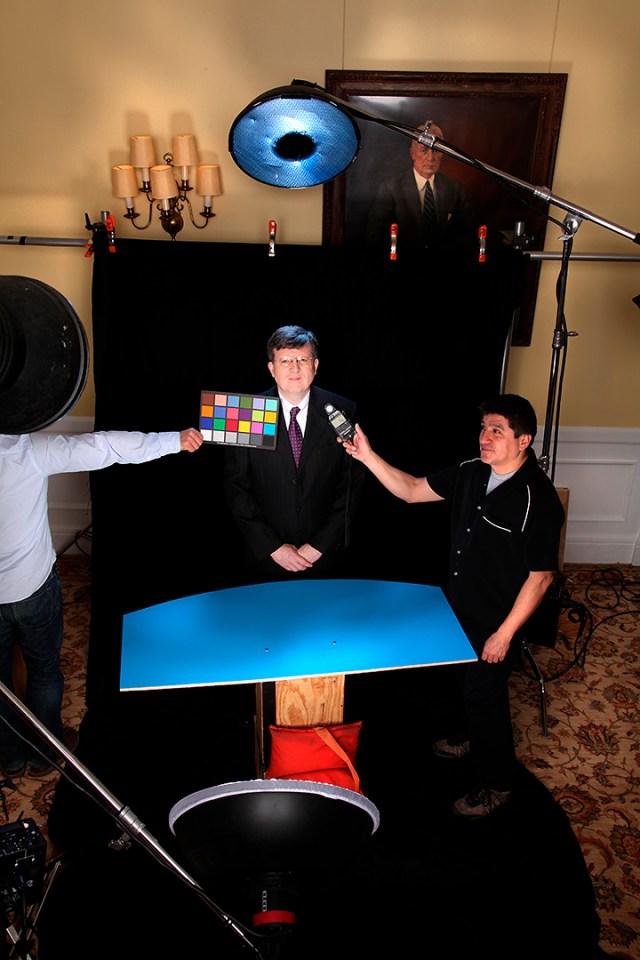
I could have subtitled this post “How To Make 10 People Appear Out Of Thin Air” cuz that’s kinda what we had to do with the inside shots for this years Barron’s Roundtable issue. It took a little arm-twisting, but I convinced Adrian that after all these years of assembling individual portraits of the Roundtable members into our fanciful group shots, this would be a perfect time to pull away the curtain…up to a point…and show a bit of the behind-the-scenes magic and Photoshoppery that is involved in making ten people look like they were actually in the same room at the same time. My idea was to do a pulled-back view of the cover image showing the lights, assistants and set dressing, as well as having some fun with the MacBeth color-checker while we were at it, much like what I do in the Light Test galleries on my website. But the truth was that we would still be tricking the viewer into thinking they were seeing a real look at the set, when in fact the entire shot was created in Photoshop!

You’ll remember from Part One that we shot everybody separately on the black velvet set…..

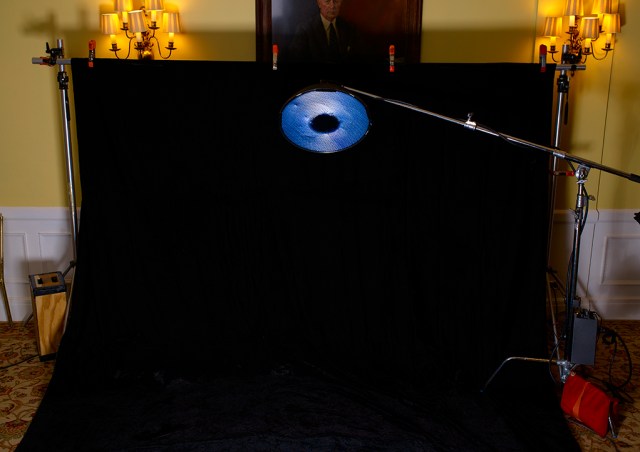
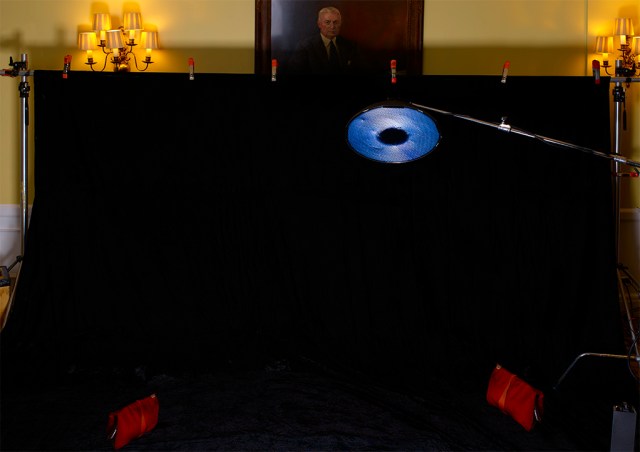
…but those shots weren’t wide enough for me to insert all ten people, so we cleared the set, widened the black velvet and shot a blank canvas for me to assemble the group shot with…

Unfortunately, even that area wasn’t wide enough, so I had to stretch it even further in Photoshop into this…

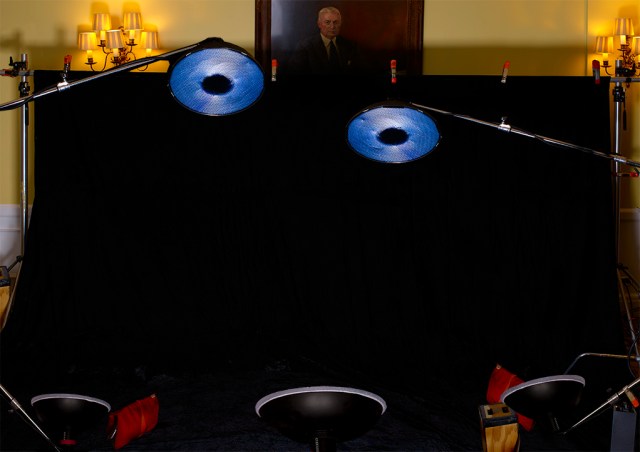
You’ll notice that besides making the velvet area wider, I also corrected the lens distortion by straightening the verticals and I also added a few A-Clamps to the crossbar holding the velvet. Now I could get to work filling in the lighting. I added a second hairlight boom, and three beauty dishes on the bottom of the frame…

…and then cloned in the posing table and some sandbags, four times…..

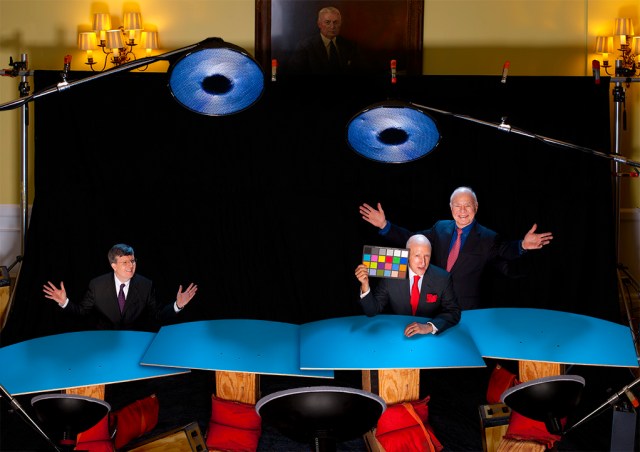
…which got us to the point where I could start adding bodies!

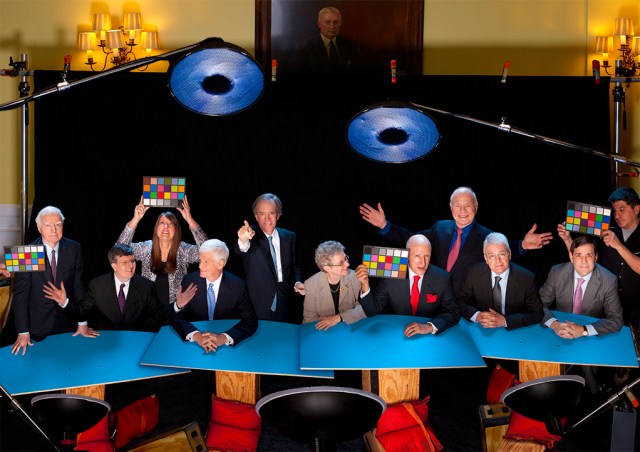
…and then get the whole gang together…

Now by this time, I had worked up a pretty complex file with more than 30 layers…

There were more than 25 image layers alone, with things like hands, shadows, tabletops, light booms, and various body parts overlapping and blending into one another…trust me, it’s a lot to keep track of!

Click for Full-Size

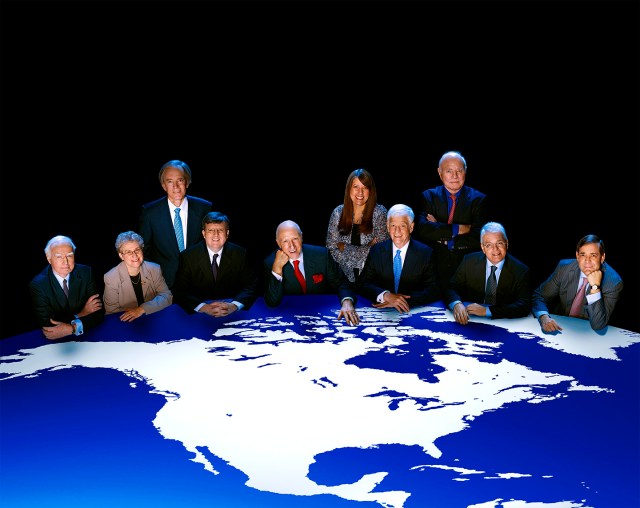
But after all the cloning and cropping and positioning and blending and color-correcting, this was the final image…..

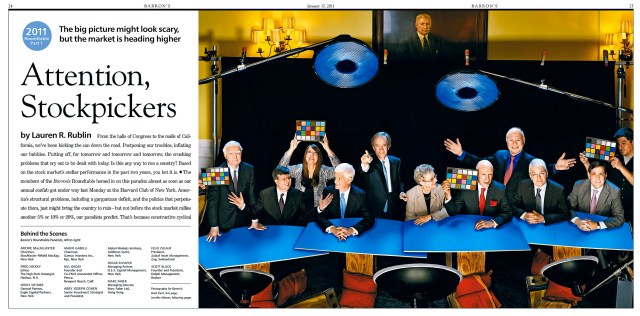
…and here is how it looked in Barron’s…

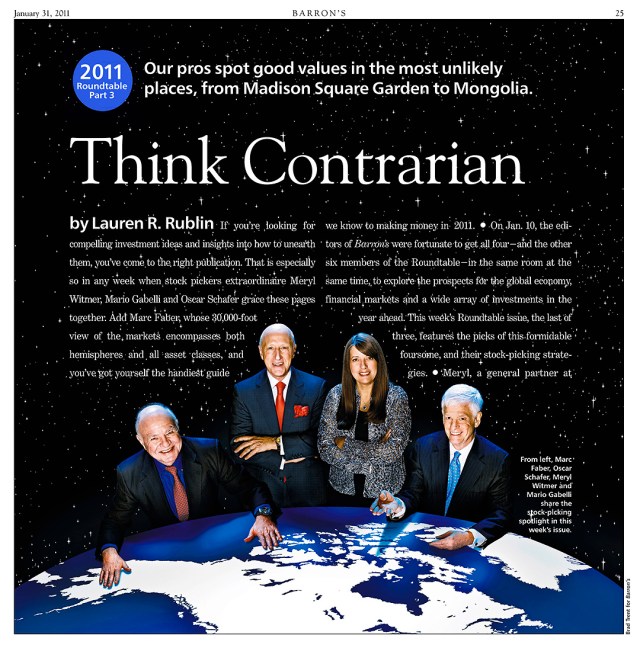
Now I figure after all that, y’all should have the basics down for how to fake a big group, so I won’t bore you with another step-by-step breakdown of the two additional shots I put together for the following two shots, but here’s what we did for week two and week three of the Roundtable Reports…

Week Two:

Week Three:

So there you have it…for now! Remember, I still have the two situations we did for the Mid-Year cover to talk about, but not until June when it gets published!

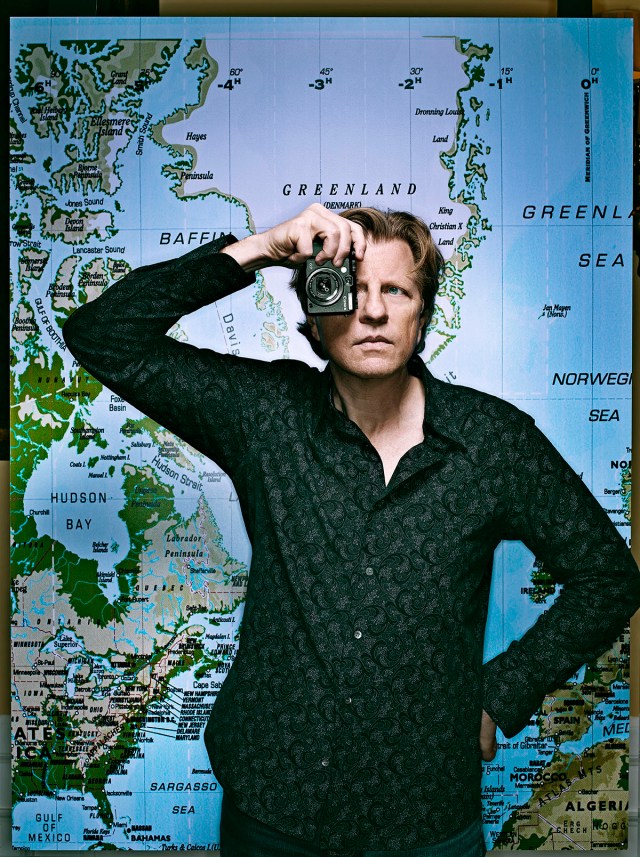
OK…OK…there is this…….
Behind The Scenes At The 2011 Barron’s Roundtable PART ONE

Click on any image for Full-Size

For the fifth year in a row, I got to photograph the ten investment professionals who make up the Barron’s Roundtable to illustrate the two cover stories the magazine runs on their predictions for the World financial markets. And just as we do every year, photo editor Adrian DeLucca and I brainstormed over fine wines and French food to come up with the best way to use the extremely limited time we are given to shoot everybody for the minimum of four separate uses the magazine has. In the roughly two hours we’re alloted (we have to shoot everybody before their day-long meeting begins) we have to come up with two covers…one for January and one for the mid-year June issue…as well as double-page opening shots for both issues, and still try to get individual photos of each person that can be used in stand-alone stories. That’s ten people…two hours……four different shots!

Since I can’t talk about anything we shot for the June Mid-Year cover until it is published, you’ll all just hafta make due with half of the story until then, but here’s the story on how the January cover went down…..

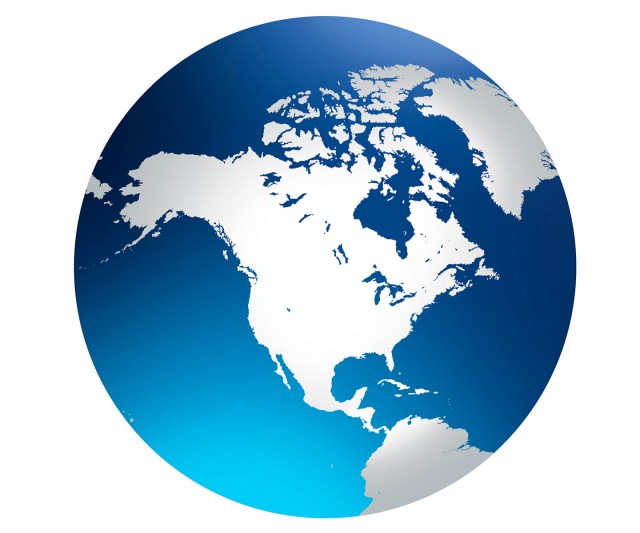
Since the Roundtable members generally talk about Global financial markets, Adrian and I thought to shoot a cover image where the Roundtable members would be sitting…somewhat God-like…at a round table that was actually the Earth, but because the focus of their discussions typically center on how things will effect the North American markets, we decided it was best to concentrate on the North American continent. The first thing I had to do was come up with a globe map that was both graphic and a quick read and something I could easily morph into a table top. A bit of Googling came up with this…

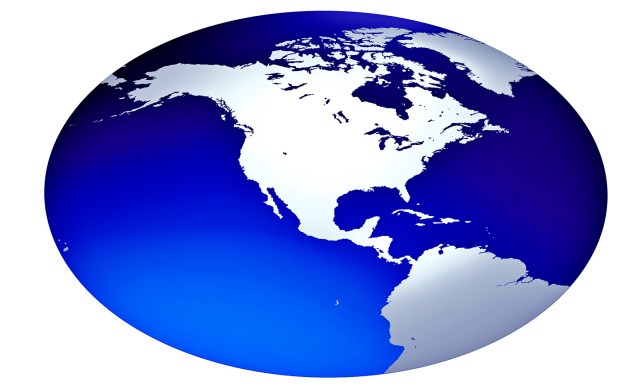
…and with a bit of Photoshoppery I was able to turn it into this…

That gave me the basic shape I needed to determine the camera height & angle so that I could make a cover mockup…

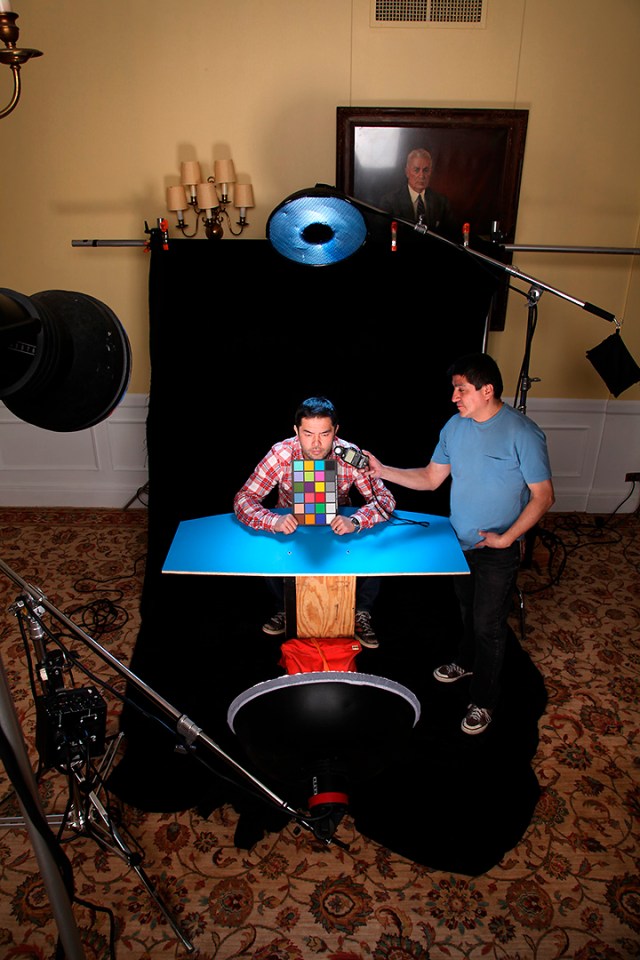
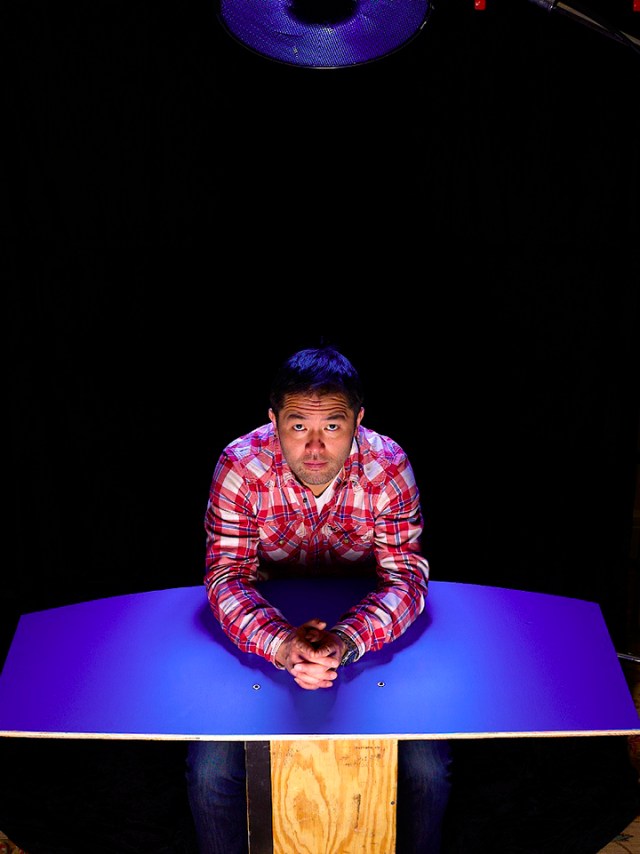
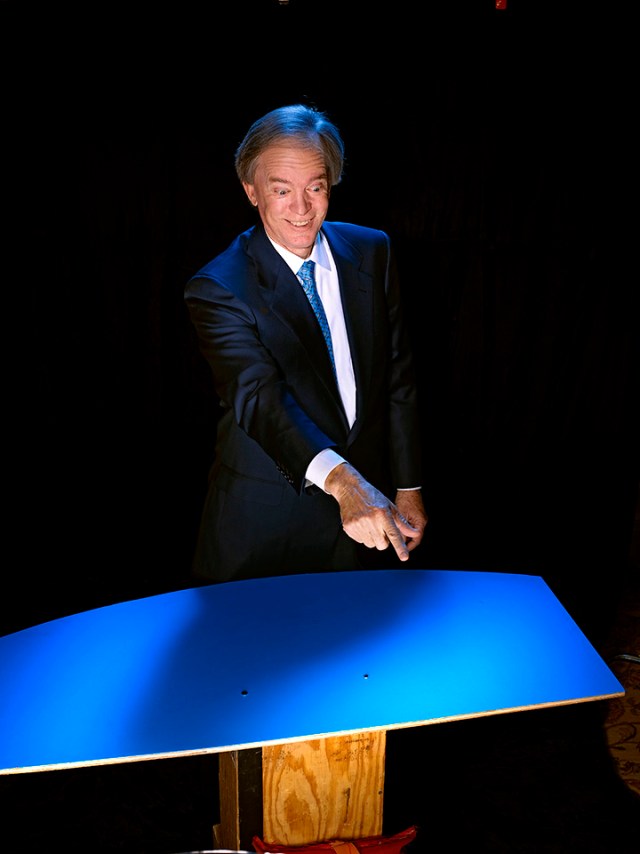
Because each person was to be shot separately and combined in post into the final group shot around the table, I needed a posing table that would give me the proper curve for them to lean into so that when I positioned each person, they would be sitting or standing at the correct angle and my Photoshop blending at our gigantic Earth Table wouldn’t look fake. For the posing stand, I simply cut a curved piece of plywood, painted it blue to match the color of the globe image and screwed it into some apple boxes. Once the basic physics of what angle and height to shoot the cover was planned out, we were ready to get down to business. Since we were scheduled to begin at 8:00AM Monday morning, we spent a leisurely Sunday afternoon setting up…

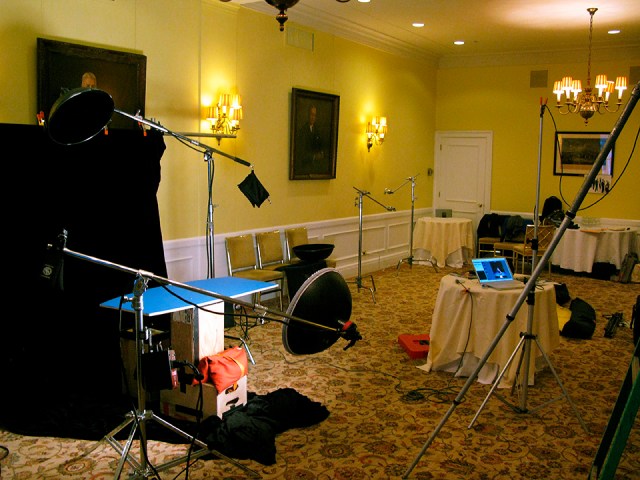
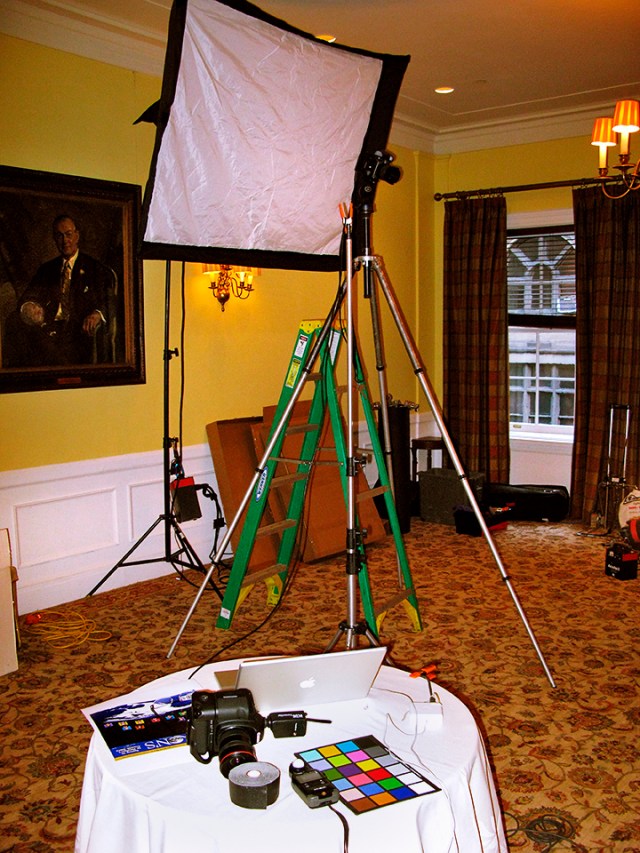
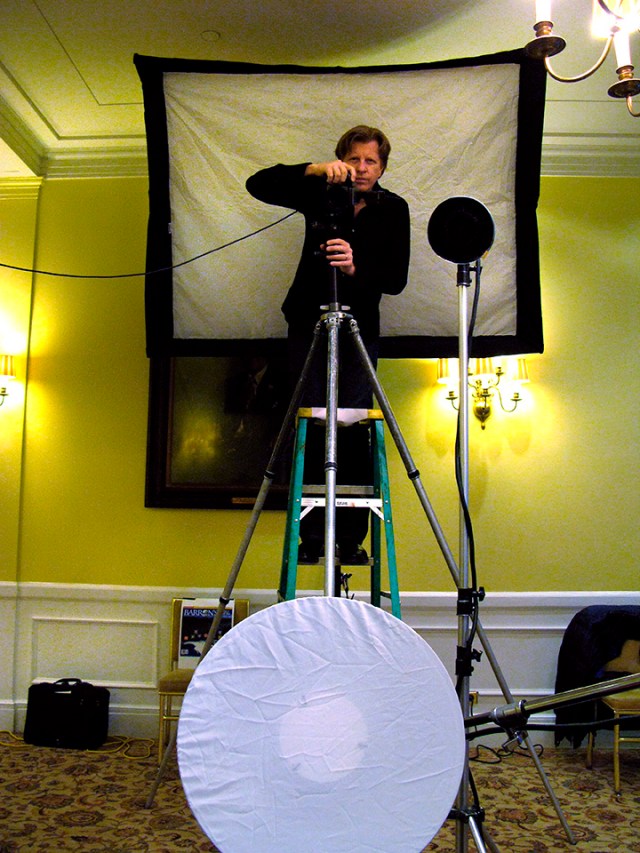
Just as last year, The Roundtable meeting was taking place at The Harvard Club, so our ‘studio’ was a room with walls covered in portraits of dead, rich white guys staring down at us. They were apparently ex-Presidents of Harvard, which is probably why they called it the Presidents Room. We quickly set up out cover set…a black velvet backdrop, the blue plywood posing table, and a pretty simple lighting setup of a 20″ Profoto White Beauty Dish main light, a second Profoto Beauty Dish as a blue moon-glowy hairlight (but this one is a Silver dish with a 20 degree grid and 2 Full Blue (CTB) filters attached) and a 4′ x 6′ Chimera for an overall fill behind the camera position…

Here’s the subject’s-eye view…

…and you can see we added a fourth light…that head to the right of the camera with a 7″ reflector and a 10 degree grid…it threw a bit more light onto the subjects face, ‘cuz that beauty dish aimed from the ground-up was just a wee bit too monster-lighty. Here are the first tests…

With our basic lighting nailed down and our mockup cover taped to the tripod…

…we were ready for the parade of people that would show up the next morning. Well…as ready as you can possibly be when you have to keep four separate shots in your head where you have to composite ten people into believable groups for the final image! In that two hour shoot window! Anyway…it all came together rather nicely…..

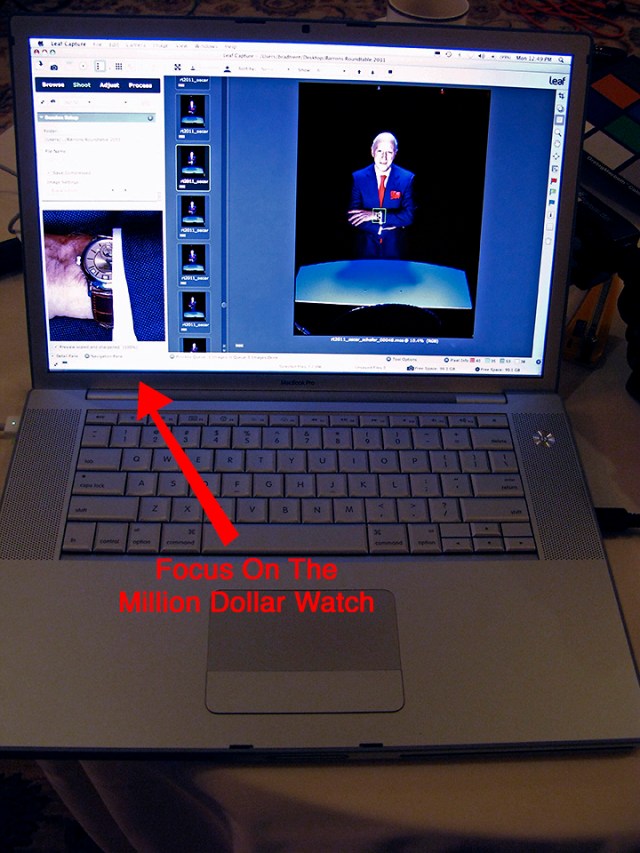
…I’m not kidding…Oscar’s watch is worth $1 million bucks!

Making sure to cover all manner of goofy expressions ‘cuz You never know what you’re gonna hafta do when putting the group shots together…

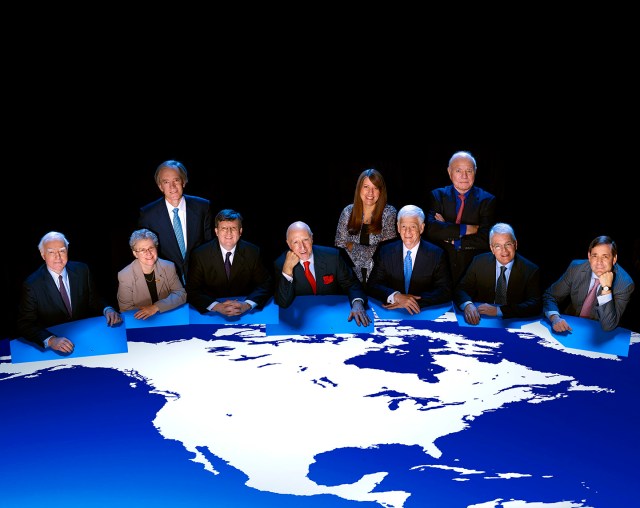
And in no time…we were done! Now came the assembly. This was the first simple comp I did with people added around our Global Table…

After moving a few people around and swapping in a different pose for Archie MacAllaster on the far left, I erased the plywood posing tables from under their hands and this was the result…

Next came a bit of color and contrast retouching, some tweeking of the levels and curves and dodging the highlights on everyones shoulders so they separated from the background a bit better…

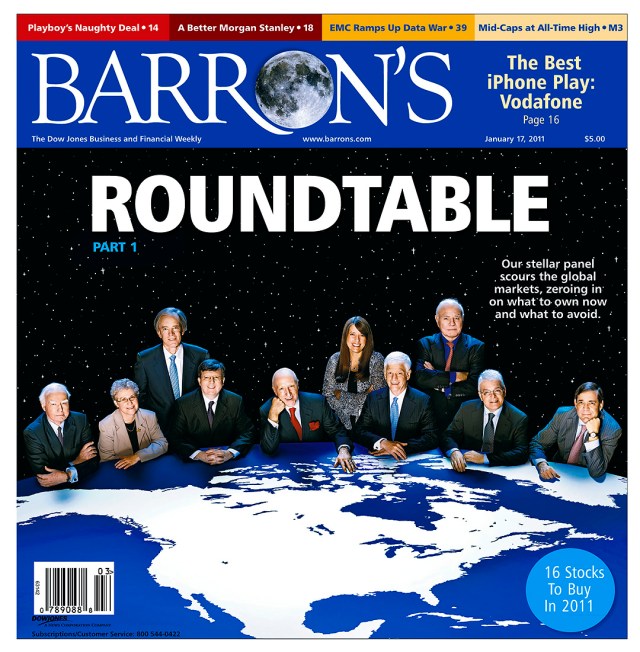
And finally, we added a field of stars…..

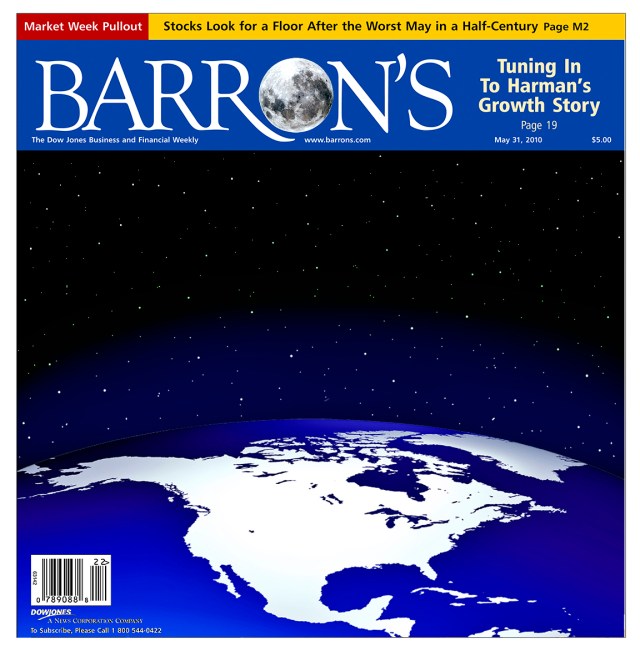
…and here is the final cover, complete with the moon that replaced the usual ‘O’ in Barron’s (I can’t remember if that was Adrian’s idea or mine, but it was a nice touch)…..

Next up in Part Two…I’ll break down the assembly and retouching of the Behind-The-Scenes two-page opener for the Roundtable story, including how I managed to convince Adrian that this was a perfect situation to pull out my Artificial Portrait technique, as well and two additional shots we put together for the subsequent two editions of Barron’s.

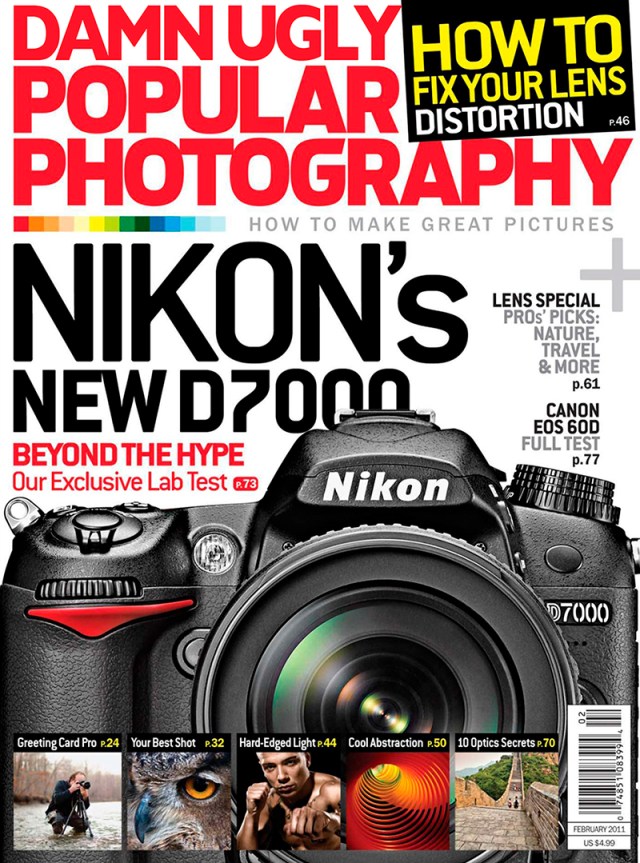
PopPhoto Gets Damn Ugly

I was recently interviewed by Popular Photography contributor Laurence Chen for the February issue’s ‘HOW * Creative Thinking’ section. The article featured a little behind-the-scenes look at my portrait of Howard Sontag. Big thanks Laurence and PopPhoto, and you can check out the article HERE

You Can Shoot Here, Or You Can Shoot There…

Click on any image for full-size
______________________________

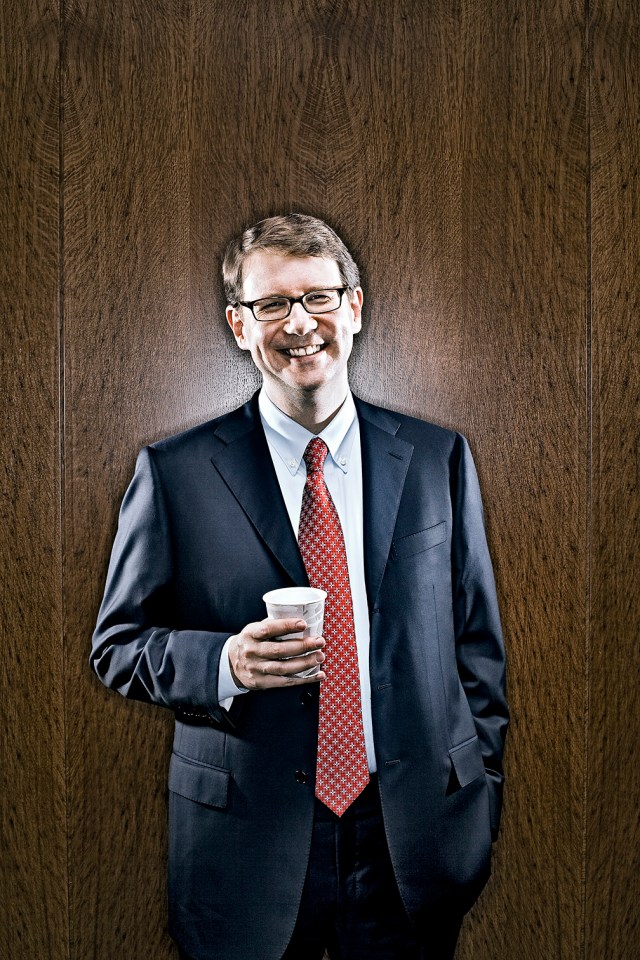
I know how much some of you like seeing the behind-the-scenes stuff on my shoots, so as my tour of the Nation’s boardrooms and office spaces progresses, I offer to you my recent session with Gordon Fowler, the President and Chief Investment Officer of Glenmede. What follows is part lighting tutorial, part manipulating reality, but mostly it shows what can be done when you only have ten minutes to photograph a high profile subject and still come away with unexpected, arresting images.

On the location scout I did a couple of days before the shoot I was presented with two things. First, Gordon was extremely busy and wasn’t going to be able to devote a lot of time to a photo session, and second, there were really only two areas that would work as possible locations…

The ‘Art Wall’…

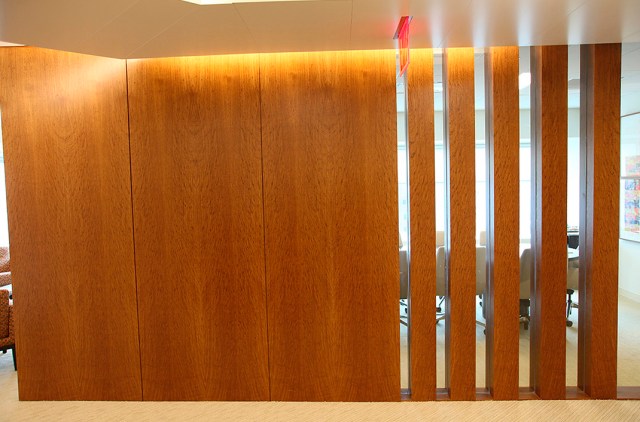
…and the ‘Wood Wall’…

The two spots were literally side-by-side, so by setting up both shots beforehand it would make it easier on Gordon’s time limitations…

We began with the portrait in front of the ‘Art Wall’…

It’s pretty obvious that I changed the overall look and feel by adding some moody blue drama to the scene, but the shot was actually pretty easy to light. Gordon was lit by a fresnel spot (with a full CTO gel) that was almost directly overhead and a second light with a 7″-40 degree grid skimming the wall behind him. The final light was a ringlight (with a full CTB gel) filling in the overall scene. After five minutes of Gordon in the chair, we went around the corner to the wood-paneled wall…

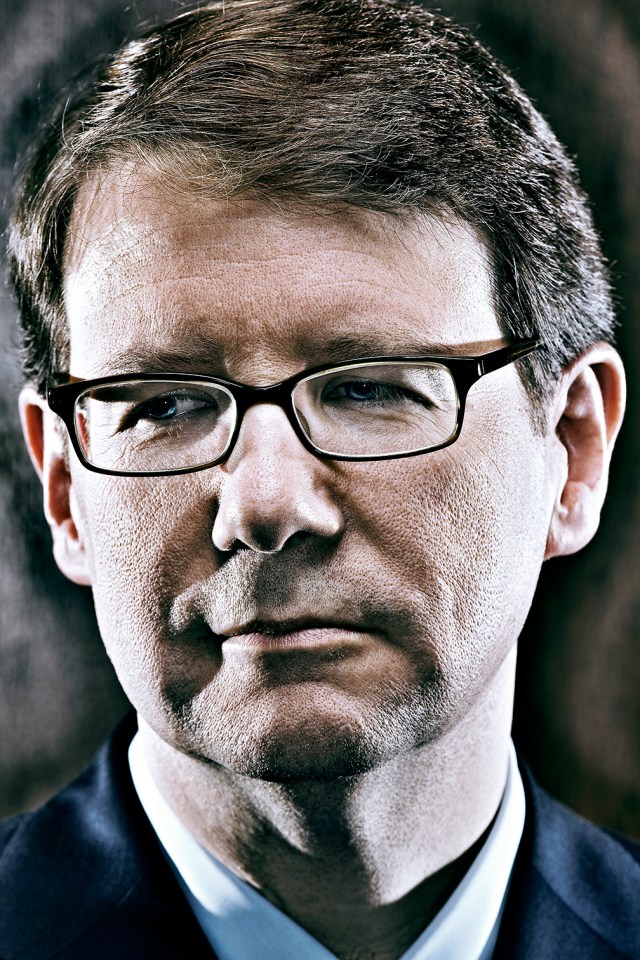
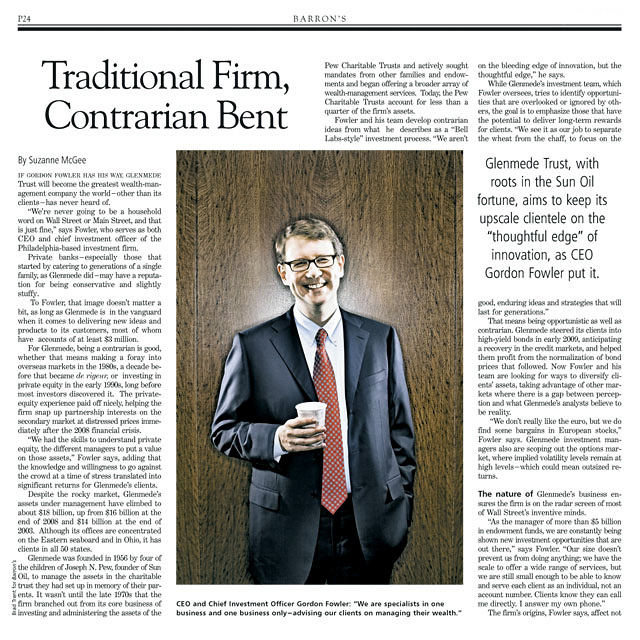
For this shot I wanted to keep things simple and just focus on his expressions, so I kept the lighting pretty open with a gridded beauty dish up high above his face, a couple of skim lights on either side of him and another ringlight adding not only fill, but a nice reflection highlight on the wood that separated him from the background. But the real beauty of the shot was the unexpected caught moment of him just enjoying his coffee and having a laugh before we actually got under way. I finished things off with that tight portrait at the top of the page, but the magazine went straight to Gordon and his coffee cup…

Two setups…ten minutes total shoot time…done!

New Work – Robert Nardelli

Click on Any Image for Full-Size
______________________________

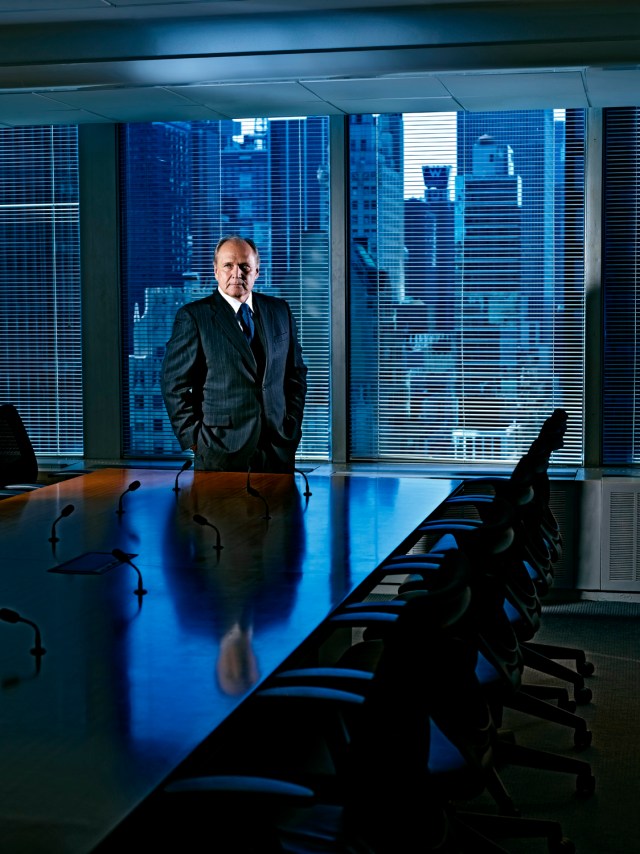
My tour of the nation’s boardrooms continued last week when I got to spend some time with Bob Nardelli, the ex-CEO of Home Depot and Chrysler, who is now at Cerberus Capital Management, one of the largest private equity investment firms in the country. His new gig has him running the Cerberus Operations and Advisory Company…a little portfolio that includes about 50 companies with combined revenues of nearly $50 billion. With that as his day job, it’s not too surprising that I was not going to be given a lot of time to do what I do, but I was further hamstrung when the location I wanted to shoot him in was deemed ‘too public’ and instead my only choice was…the boardroom.

The boardroom is always the first place I’m shown and usually the last place I wanna be! The person giving me the office tour typically says, “We’ve done a lot of photography in here!”, which makes me wonder why they think I would want to go where thousands have gone before, but beyond that, most boardrooms are just not that photo-friendly. They can be High-Tech or Old-World and as well-designed as possible, but there’s no gettin’ around the monstrously large table that inevitably takes up the bulk of the room. And even the best boardroom is usually kinda bland, overlit and without much drama. So to overcome these little obstacles I decided to get a bit dark and moody and make a shot that was more cinematic than real…..

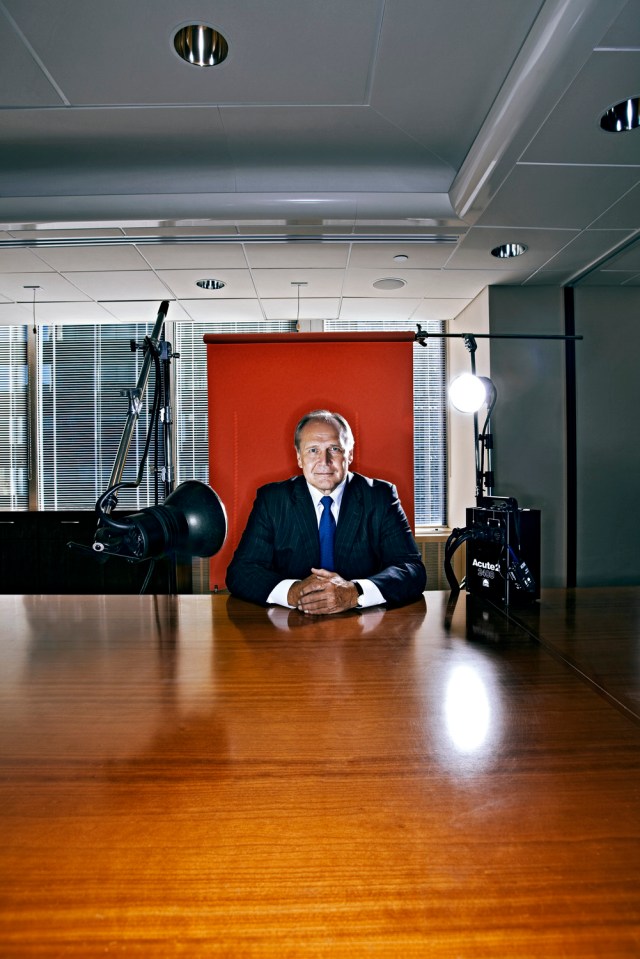
…then, for a quick secondary photo, I decided to do one of my Artificial Portraits (above) that I could also serve as a nice setup for a tight portrait…..